
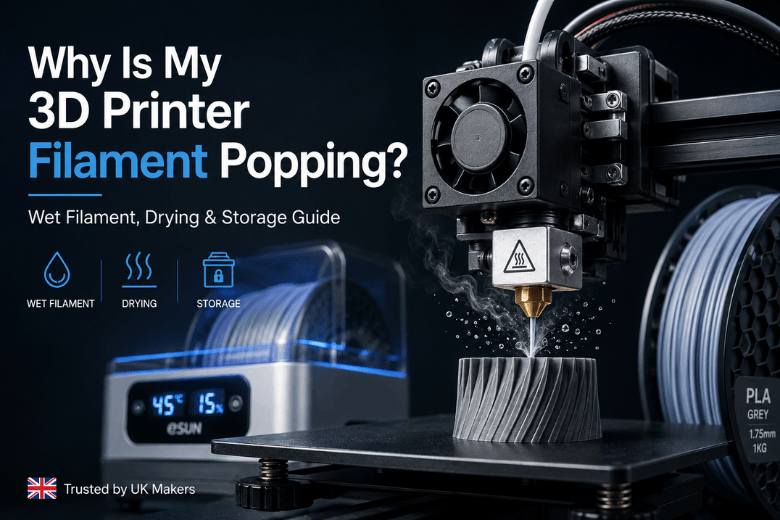
Key Takeaway: Wet filament manifests primarily through audible popping at the hotend, persistent stringing, rough surface zits, weak layer bonding, and unexpected brittleness. Because atmospheric water flash-vaporises into steam inside the melt zone at 200°C–250°C, drying spools below their glass transition temperature (T g) is essential to restore print strength and surface finish.
Few issues disrupt FDM 3D printing as quietly or consistently as atmospheric moisture. You load a spool, start a print with proven slicer settings, and suddenly encounter excessive stringing, rough top surfaces, or prints that split along layer lines under minor stress. In humid workshop environments across the UK, open spools can absorb enough ambient moisture within 24 to 48 hours to compromise print quality.
Recognising wet filament symptoms early saves hours of unnecessary slicer troubleshooting, bed relevelling, and wasted material. This guide details the physical mechanics of moisture absorption, provides a four-step diagnostic routine to test your spools, and outlines exact drying parameters across common thermoplastic materials.
What Happens When 3D Printing Filament Gets Wet?
Thermoplastic filaments used in FDM 3D printing—including PLA, PETG, TPU, and ABS—are hygroscopic. Their molecular chains actively attract and bind water molecules from the surrounding air.
When moist filament feeds into a hotend heated between 200°C and 250°C, that trapped water undergoes rapid thermal expansion. Water expands over 1,600 times its liquid volume when converted into steam. Inside the narrow nozzle orifice, this flash-vaporisation causes several distinct physical reactions:
-
Micro-Steam Explosions: Trapped water droplets boil instantly, building internal pressure inside the melt zone. As the molten plastic exits the nozzle tip, tiny steam pockets burst through the extruded line, producing audible clicking sounds and spraying micro-droplets of plastic.
-
Pressure Fluctuation and Oozing: Steam expansion overrides retraction settings. The internal vapor pressure continues pushing plastic out of the nozzle tip even when the extruder gear stops, creating fine hairs and wisps during travel moves.
-
Micro-Void Formation: Steam bubbles leave microscopic hollow pockets inside extruded lines as the plastic cools. These voids disrupt the uniform density of wall shells and top layers, causing a rough, pitted, or chalky surface sheen instead of a smooth, glossy extrusion.
-
Hydrolytic Polymer Degradation: Prolonged moisture absorption causes water molecules to break polymer chains through hydrolysis—particularly in materials like PLA, PETG, and Nylon. This shortens the molecular chains, causing the raw filament to become brittle and snap off the spool easily.
4 Clear Wet Filament Symptoms You Can Spot Instantly
If your 3D printer suddenly produces subpar results on a profile that worked perfectly yesterday, check for these four primary indicators.
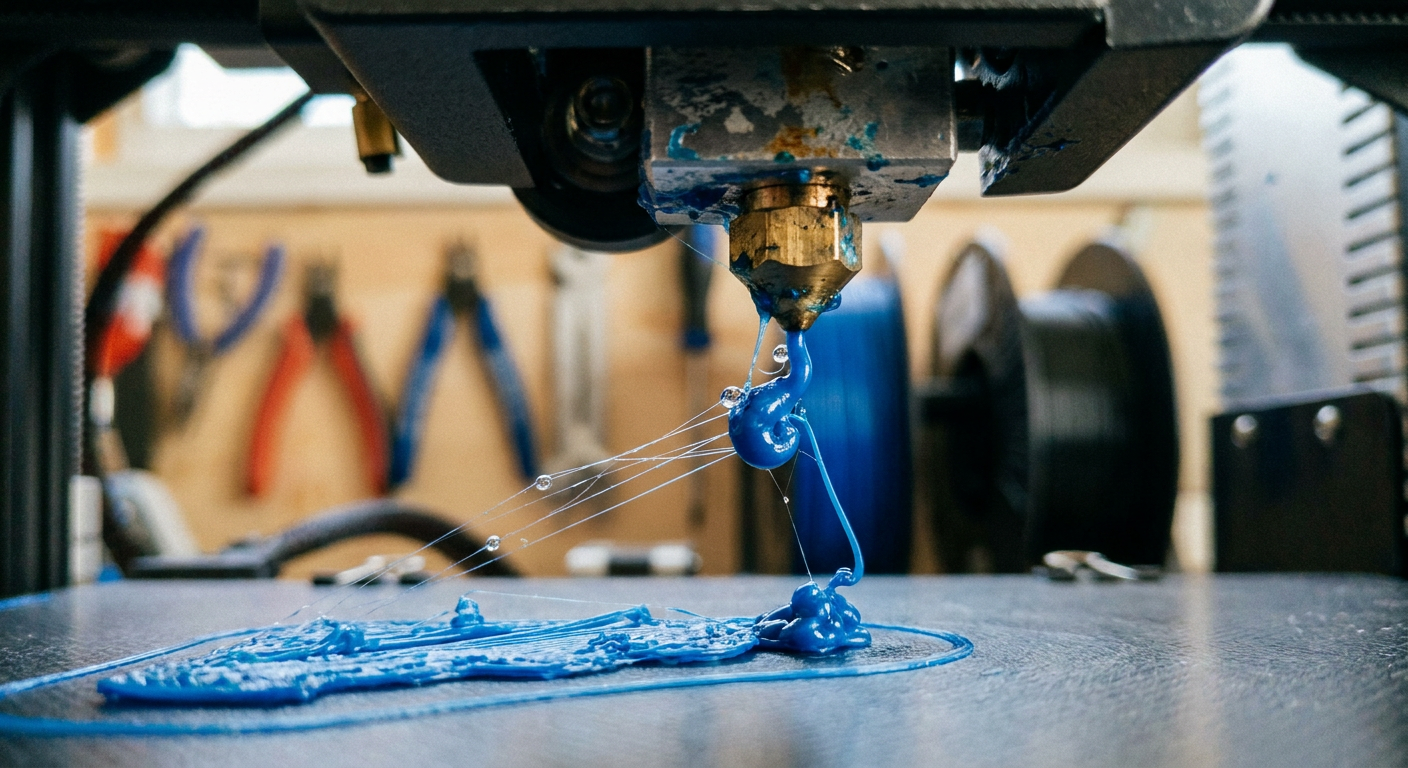
1. Acoustic Popping, Crackling, or Hissing at the Nozzle
The single most definitive sign of moisture absorption is sound during extrusion. As water turns to steam inside the hotend, it creates a popping or sizzling noise similar to microwave popcorn or damp wood burning on a fire.
-
How to test: Heat your nozzle to the standard printing temperature for your material (e.g., 210°C for PLA or 240°C for PETG). Manually extrude 50 mm of filament into free air. Stand close to the print head and listen closely. Silent, smooth extrusion indicates dry plastic; distinct clicks, pops, or steam sizzles confirm water contamination.
2. Excessive Stringing, Oozing, and Surface Zits
When steam pressure builds up inside the hotend, standard retraction distances fail to stop plastic flow. As the print head travels between separate parts or perimeter walls, thin cobweb-like strands stretch across open gaps.
-
Visual markers: Look for fine stringing between pillars, small pimples or zits on outer walls where layers start, and blobs at the corners of travel moves.
3. Dull, Bubbly, or Rough Surface Texture
Dry extruded plastic forms a smooth, uniform cylinder with a consistent sheen. Moist plastic, by contrast, exits the nozzle with noticeable surface defects caused by escaping steam pockets.
-
Visual markers: Top surfaces look uneven, pitted, or chalky. Clear or translucent materials (such as clear PETG or TPU) lose their optical clarity, appearing cloudy, foamy, or milk-white.
4. Poor Layer Adhesion and Brittle Prints
When steam pockets form between extruded layers, they prevent hot polymer chains from fully bonding and inter-diffusing. The resulting print may look complete from a distance, but its structural integrity is severely compromised.
-
Mechanical markers: Parts snap easily along layer lines under minimal hand force. Additionally, PLA and PETG filament that has absorbed heavy moisture often becomes brittle on the spool itself, snapping easily when gently bent between your fingers.
Material Breakdown: PLA, PETG, TPU, and ABS Moisture Signs
While all thermoplastics absorb water, different chemical structures behave differently when exposed to ambient humidity. Understanding these nuances helps you diagnose issues specific to your material setup.
|
Filament Type |
Hygroscopy Rate |
Primary Wet Symptoms |
Drying Temperature |
Minimum Drying Duration |
|---|---|---|---|---|
|
PLA |
Low to Moderate |
Brittle filament, mild stringing, pitted top surfaces, faint popping |
45°C – 50°C |
4 – 6 hours |
|
PETG |
Moderate to High |
Heavy stringing, blobs, cloudy clarity, weak layer bonding, nozzle ooze |
60°C – 65°C |
6 – 8 hours |
|
TPU |
High |
Foamy/bubbly extrusions, extreme stringing, porous prints |
55°C – 60°C |
6 – 8 hours |
|
ABS / ASA |
Moderate |
Surface pitting, warping, layer separation under stress, crackling |
65°C – 70°C |
4 – 6 hours |
PLA Moisture Characteristics
PLA absorbs water relatively slowly compared to engineering materials, but high ambient humidity in UK workshops eventually takes a toll. When wet, PLA loses its tensile flexibility on the spool roll and becomes glass-brittle. During printing, wet PLA manifests as subtle surface roughness, slight stringing, and reduced layer strength.
PETG Moisture Characteristics
PETG is significantly more hygroscopic than PLA. Exposed spools can absorb enough moisture within 12 to 24 hours to cause severe oozing and stringing. If your PETG prints suddenly show excessive stringing or look dull and cloudy, moisture is almost always the root cause rather than slicer retraction settings.
TPU Moisture Characteristics
Flexible TPU is exceptionally sensitive to moisture. Because TPU holds water tightly within its urethane bonds, printing wet TPU results in a foamy, sponge-like extrusion. Parts printed with wet TPU lose their elastic strength and display severe surface bubbling.
Step-by-Step Diagnostic Protocol: How to Tell If Filament Is Wet
Before adjusting slicer parameters, altering flow rates, or disassembling your extruder, execute this straightforward four-step diagnostic procedure to isolate moisture issues.
Step 1: Free-Air Extrusion (Listen for pops & check steam)
Quiet & smooth stream ► Plastic is dry (Check mechanical calibration) Popping / sizzling ► Moisture confirmed Step 2: Physical Filament Bend Test Snaps with light pressure ► Hydrolytic moisture degradation Flexes smoothly ► Normal structural flexibility Step 3: Test Print Artifact Inspection Stringing, zits, cloudy walls ► Thermal steam expansion Clean perimeters ► Dry surface finish Step 4: Weigh Spool Before & After Thermal Drying Weight loss (grams) ► Confirms water mass removed
Step 1: Conduct a Free-Air Extrusion Test
Preheat your printer's hotend to the recommended temperature for the installed spool. Disengage the extruder tension arm or use the slicer interface to extrude 50–100 mm of plastic into open space.
-
Auditory Check: Listen for distinct popping or clicking noises as the filament passes through the nozzle.
-
Visual Check: Watch the extruded stream. Does it drop straight down as a smooth thread, or does it curl back toward the nozzle tip, foam, or emit visible vapour?
Step 2: Perform the Filament Bend Test
Unspool approximately 20 cm of raw filament from the roll. Gently bend the strand back on itself into a sharp U-shape.
-
Dry PLA/PETG: Bends or flexes under gradual pressure before eventually deforming.
-
Wet PLA/PETG: Snaps sharply with minimal effort, like a dry twig.
Step 3: Inspect Printed Wall Textures and Layer Lines
Examine a recently completed or failed print under bright, angled lighting. Look specifically for:
-
Random pinholes or micro-voids across outer perimeters.
-
Stringy webs stretching across travel movements.
-
Delamination or splitting when light torsional force is applied to the part.
Step 4: Measure Spool Mass (The Empirical Moisture Check)
For absolute confirmation, weigh your spool on a digital kitchen scale (precise to 0.1 g) before placing it in a dryer. Weigh it again after four hours of thermal drying. A drop in overall mass confirms that water was actively evaporated out of the roll.
How to Dry Wet Filament Safely and Effectively
Once you confirm that a spool contains water, passive storage is no longer sufficient. Desiccant packs can absorb moisture from the air inside a sealed container, but they lack the thermal energy required to release water molecules already bound inside the polymer matrix. You need active heat and controlled airflow to dry wet filament.
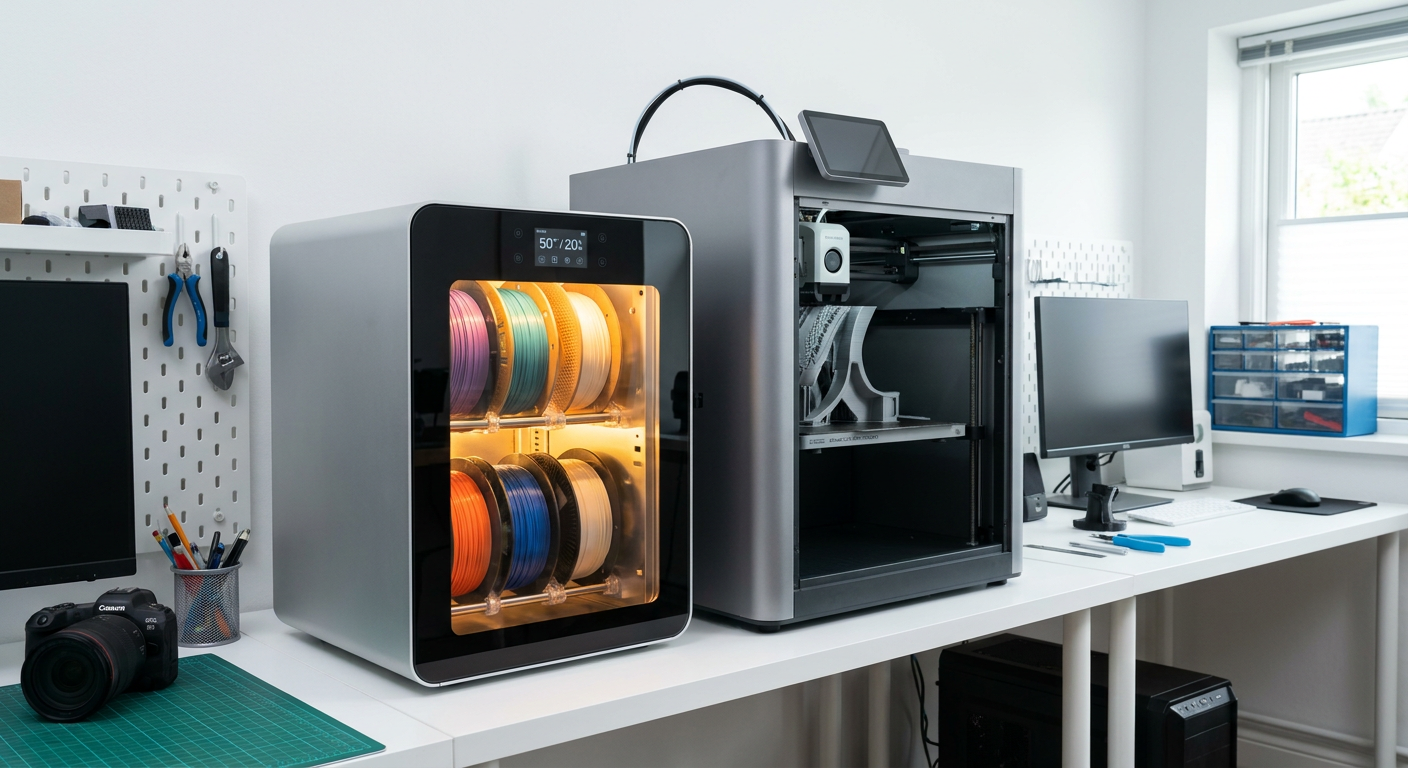 ⚠️ Warning: Never attempt to dry 3D printing filament in a domestic kitchen oven. Kitchen ovens experience wide temperature swings (+/- 15°C above setpoint) that can easily exceed the material's glass transition temperature (T g), melting your spool into a solid plastic block. Additionally, heating plastics in food preparation appliances presents health and safety risks.
1. Purpose-Built Active Filament Dryers
Dedicated active filament dryers use PTC heating elements and internal circulation fans to maintain a precise, constant temperature while venting humid air out of the chamber.
Using a purpose-built active filament dryer allows you to set target temperatures matching specific polymer requirements—such as 45°C for PLA or 65°C for PETG—ensuring moisture evaporates cleanly without risk of spool deformation. Many active dryers also feature feeding ports, allowing you to print directly from the heated chamber during long print jobs to prevent re-hydration.
2. Dedicated Food Dehydrators
Modified food dehydrators offer another reliable active drying method. By trimming the internal plastic trays to fit a 1 kg spool, you can maintain steady airflow and temperature control. Ensure the dehydrator allows manual temperature adjustments starting from 40°C.
3. Recommended Drying Times and Temperatures
To dry spools safely without causing thermal deformation, adhere to these material-specific parameters:
-
PLA: 45°C – 50°C for 4 – 6 hours (T g ≈ 55°C)
-
PETG: 60°C – 65°C for 6 – 8 hours (T g ≈ 80°C)
-
TPU: 55°C – 60°C for 6 – 8 hours (T g ≈ 60°C)
-
ABS / ASA: 65°C – 70°C for 5 – 7 hours (T g ≈ 105°C)
Always ensure the chamber temperature stays at least 5°C to 10°C below the material's glass transition temperature to prevent neighboring filament strands from sticking together.
Preventing Moisture Absorption: Storage Best Practices
After drying your spools, practical storage habits keep them dry and ready for high-speed printing.
Pro Tip: In UK climates where indoor relative humidity frequently exceeds 60%, do not leave open spools mounted on your printer overnight unless they are enclosed inside an active dryer or sealed dry box.
1. Airtight Containers with High-Capacity Silica Gel
Store unused spools in heavy-duty vacuum bags or sealed plastic containers fitted with a silicone gasket. Pair each container with color-indicating silica gel beads (which change from orange to green when saturated). Replace or reactivate the desiccant when the internal hygrometer reads above 20% relative humidity.
2. Direct-Feed Dry Boxes for High-Speed Printers
When running extended multi-day prints or working with highly hygroscopic materials like PETG or TPU, feed the filament directly from an active dryer box into the extruder through PTFE tubing. This seals the material path from ambient room air during the entire print duration.
3. Start with Reliable, Consistent Spools
Starting with quality 3D printing filaments manufactured to tight dimensional tolerances and properly vacuum-sealed with fresh desiccant ensures predictable baseline performance right out of the box.
Next Steps for Workshop Print Optimization
Identifying and resolving wet filament symptoms eliminates one of the most common causes of unexplained print failure. Once your spools are thoroughly dried and stored correctly, you can confidently fine-tune mechanical variables—such as Z-offset, bed mesh levelling, and extrusion flow rates.
If you continue to experience surface defects after drying your spools, review our comprehensive 3D printer print quality calibration guide for systematic steps on hardware tuning and slicer optimization.
Share:
Why Does My Filament Pop During Printing? (Causes & How to Fix It)
Why Your 3D Printer Stops Extruding Mid-Print (And How to Fix It)