
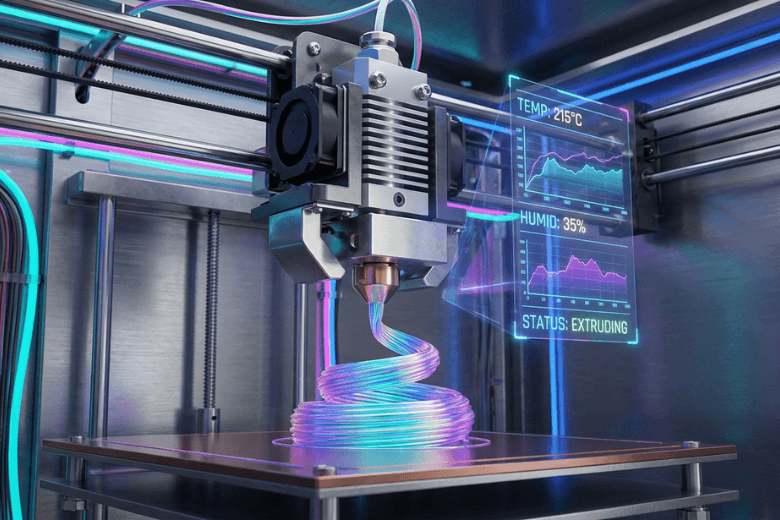
Key Takeaway: Sudden popping, snapping, or crackling sounds at your 3D printer nozzle are almost always caused by trapped atmospheric moisture inside the plastic filament. When damp filament enters the heated hotend melt zone (200°C–250°C), the water instantaneously flashes into steam, expanding roughly 1,600 times in volume and rupturing out of the nozzle tip. Active forced-air drying at material-specific temperatures is the definitive solution to eliminate popping, surface pockmarks, and weak layer bonding.
You press print on a multi-hour project, walk over to your machine, and hear a distinct snap, crackle, and pop coming directly from the hotend. As the nozzle moves, you notice tiny bursts of steam, fine stringing webbed across gaps, and rough pockmarks scattered across your print's outer walls.
For 3D printing makers, workshop managers, and lab technicians running desktop FFF (Fused Filament Fabrication) machines in damp climate conditions like the UK, filament popping is a frustratingly common issue. Left unaddressed, it leads to ruined surface aesthetics, structural layer failure, and unexpected nozzle clogs.
In this guide, we will break down the underlying physics of why filament pops during extrusion, provide a differential diagnostic checklist to separate wet filament from mechanical hotend issues, and outline an actionable drying and storage protocol for your workshop.
The Thermodynamics of Filament Popping: Why Steam Explosions Happen
To understand why your printer sounds like a bowl of crackling cereal, you have to examine what happens to thermoplastic polymers at a microscopic level.
Hygroscopic Polymers and Molecular Water Absorption
Most common 3D printing filaments—including Polylactic Acid (PLA), Polyethylene Terephthalate Glycol (PETG), Thermoplastic Polyurethane (TPU), and Polyamide (Nylon)—are hygroscopic. This means their polymer chains actively attract and absorb water molecules directly from ambient air.
In typical indoor UK workshop environments, where relative humidity routinely sits between 60% and 80%, an exposed spool of PETG or TPU can absorb enough moisture within 8 to 12 hours to severely degrade print performance. Even spools pulled fresh from factory vacuum packaging can retain residual manufacturing moisture from the cooling bath tanks used during extrusion.
Ambient Water Vapor - → Polymer Chain Absorption - → Trapped Liquid Water in Spool
Instant Vaporization <--- Flash Heating in Hotend (200°C+) <--- Steam Explosion at Nozzle Tip - → (Popping Noise + Micro-Pockmark Voids)
Flash Boiling in the Melt Zone
When dry filament enters your printer's hotend, the solid thermoplastic transitions smoothly into a viscous liquid melt. However, when damp filament enters the melt zone heated to 200°C–250°C, the trapped liquid water reaches its boiling point almost instantaneously.
As highlighted in the Ucuz3D Moisture Detection Study (2026), liquid water undergoes a massive volumetric expansion when converting to gas—expanding by approximately 1,600 times its original liquid volume.
This rapid expansion creates trapped high-pressure steam pockets inside the molten plastic. As the extruder pushes the material through the tiny nozzle orifice (typically 0.4mm), these steam bubbles burst into the open air.
The Physical Signs of Wet Filament
Beyond the audible popping noise, wet filament exhibits several distinct physical defects:
-
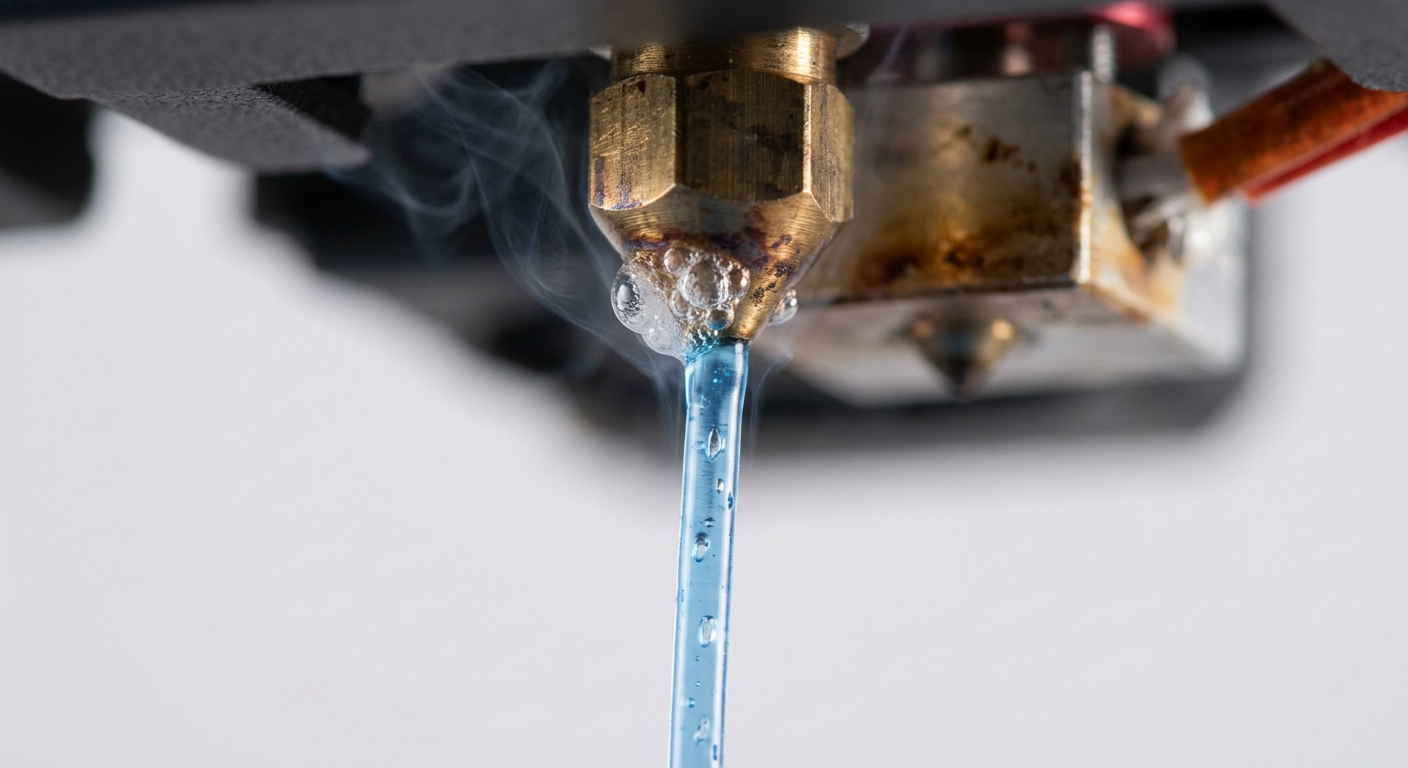
Frothy Extrusion: Manually extruding material into free air produces a bubbly, rough stream rather than a smooth, glassy strand.
-
Steam Wisps: Fine, faint wisps of white vapor rising from the heater block during extrusion.
-
Surface Pockmarks & Pit Voids: Small crater-like holes scattered across outer wall perimeters where steam bubbles ruptured as the layer was laid down.
-
Excessive Stringing & Oozing: Water lowers the melt viscosity of the polymer, causing liquid plastic to drool freely during non-printing travel moves.
-
Brittle Filament Strand: Moisture hydrolyzes certain polymers like PLA and Nylon, making the raw filament snap easily when bent before even reaching the extruder.
-
Weak Interlayer Bonding: Trapped steam voids interrupt continuous plastic-to-plastic contact between printed layers, reducing overall structural tensile strength.
Diagnostic Checklist: Is It Wet Filament or a Mechanical Issue?
Not every sound coming from your 3D printer's printhead is caused by water vapor. Mechanical skipping, air ingestion, and thermal issues can produce similar noises. Use this diagnostic matrix to pinpoint the exact root cause.
|
Sound & Visual Symptom |
Primary Location |
Probable Root Cause |
Verification Test |
|---|---|---|---|
|
Sharp popping / crackling + steam / bubbly nozzle stream |
Nozzle Tip |
Wet / Moist Filament |
Purge 50mm of filament into mid-air at printing temp. If it pops and extrudes frothy plastic, it is wet. |
|
Crackling noise immediately after travel moves |
Melt Zone |
Over-Retraction Air Ingestion |
Reduce retraction distance by 1–2mm. If popping stops during travel, excess retraction was pulling air into the nozzle. |
|
Rhythmic clicking / thumping sound |
Extruder Drive Gears |
Extruder Skipping / Back-Pressure |
Check if drive gear is grinding plastic or slipping. Happens when nozzle is too close to bed or hotend temp is too low. |
|
Curling strand + erratic pressure bursts |
Nozzle Orifice |
Partial Nozzle Clog |
Perform a cold pull using Nylon or dedicated cleaning filament to clear debris from the nozzle tip. |
According to the Prusa Hardware Troubleshooting Guide (2025), differentiating nozzle steam explosions from mechanical gear clicks is essential. Extruder clicking originates at the feeder motor and involves mechanical gear slipping, whereas wet filament popping happens at the heated tip and is accompanied by visual bubbles or surface voids.
Furthermore, on modern high-speed CoreXY 3D printers extruding at volumetric flow rates above 20 mm³/s, moisture steam explosions become even more exaggerated, causing severe layer gaps if the spool is not dried beforehand.
Step-by-Step Guide: How to Dry Moist Filament Safely
If your diagnostic tests confirm wet filament, passive storage in a box with silica gel desiccant will not fix the current spool. Desiccant packets maintain low ambient relative humidity to keep dry filament dry; they lack the heat energy required to break the chemical hydrogen bonds binding water molecules to polymer chains inside a saturated spool.
To draw moisture out of an already saturated spool, you must apply controlled heat and continuous airflow.
ACTIVE FILAMENT DRYING MATRIX
Material | Target Temp (°C) | Duration (Hours) | Max Storage RH Target
PLA | 45°C - 50°C | 4 - 6 Hours | < 25% RH PETG | 60°C - 65°C | 6 - 8 Hours | < 20% RH TPU | 50°C - 55°C | 6 - 8 Hours | < 15% RH ABS/ASA | 65°C - 70°C | 6 - 8 Hours | < 20% RH Nylon/PA | 70°C - 80°C | 8 - 12 Hours | < 10% RH
⚠️ Warning: Never exceed the Glass Transition Temperature (Tg) of your filament while drying. Setting temperatures too high will cause the plastic strands on the spool to soften, stick together, and permanently fuse into a solid plastic block.
Option 1: Using an Active Forced-Air Filament Dryer (Recommended)
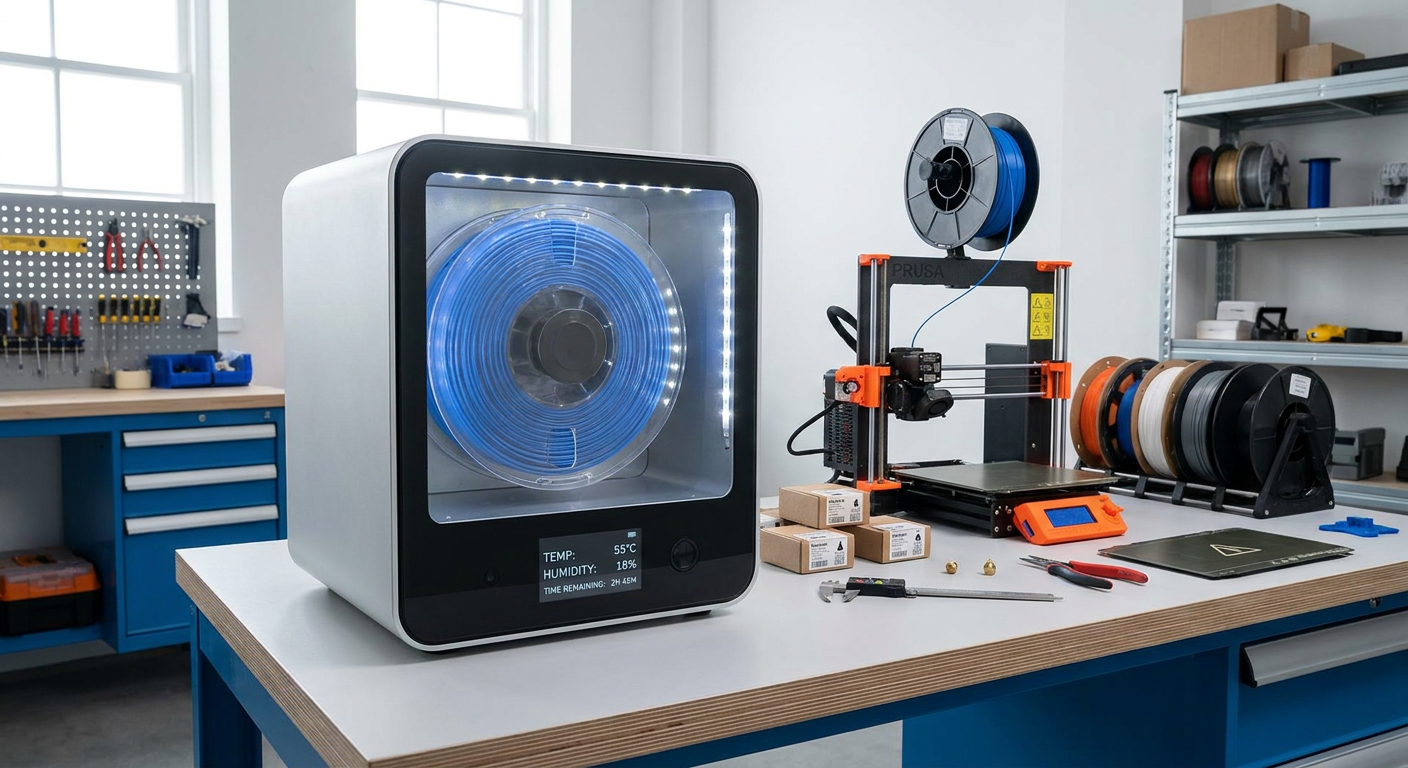
An active heated chamber designed specifically for 3D printing spools is the safest and most reliable method.
-
Place Spool in Chamber: Load your moist spool into a dedicated enclosure like a Sovol active filament dryer.
-
Set Material Temperature: Select the precise target temperature according to the drying matrix above (e.g., 50°C for PLA, 65°C for PETG).
-
Ensure Venting: Verify that the top moisture exhaust port is slightly open so humid air can escape as the internal heater drives moisture out.
-
Run for Full Duration: Allow the dryer to run for 4 to 8 hours depending on material severity.
-
Print Directly from Dryer: For highly hygroscopic materials like PETG, TPU, and Nylon, feed the filament directly from the heated dryer chamber into your printer via PTFE tubing while printing.
Option 2: Heated Bed Cardboard Box Method (Emergency Field Fix)
If you do not have a dedicated drying unit available in your workshop, you can use your 3D printer's heated bed as a makeshift drying chamber.
-
Set your 3D printer's heated bed to the target drying temperature (e.g., 55°C for PLA/TPU).
-
Place the wet spool flat on the center of the build plate.
-
Cover the spool with a clean cardboard box (such as a filament shipping box) with a few small vent holes poked in the top.
-
Leave the spool under the box on the heated bed for 5 to 7 hours.
Workshop Storage Protocol: Preventing Moisture Re-Absorption
Once your spools are thoroughly dry, maintaining low ambient humidity across your workshop or makerspace prevents recurring downtime.
1. The Sealed Dry Box Setup
Store all opened spools in heavy-duty, airtight plastic storage containers equipped with rubber gasket seals. Fill the base of the container with color-changing rechargeable silica gel beads (desiccant). Aim to keep the internal dry box hygrometer reading below 20% Relative Humidity (% RH) at all times.
2. Standardize Vacuum Sealing
When spools are not actively queued on a printer, store them in heavy-duty vacuum seal bags with fresh 50g desiccant pouches. Storing your vacuum-sealed Sovol filament in sealed bags immediately after drying keeps materials pristine for months.
3. Implement a Workshop Filament Log
In shared community workshops, makerspaces, or university labs, establish a simple spool tagging system:
-
Mark the date the spool was last dried on a piece of painter's tape on the spool side.
-
Note the material type and dry time.
-
Require lab users to return spools to sealed dry boxes immediately upon job completion.
As noted in the Sovol 3D Printing Maintenance Guide (2025), maintaining disciplined spool hygiene eliminates up to 80% of common extrusion defects before a single layer is deposited.
Frequently Asked Questions (FAQ)
Can I dry my filament spool in a standard household kitchen oven?
It is strongly discouraged. Most residential kitchen ovens have wide temperature fluctuations (+/- 15°C spikes) and poor low-temperature calibration. Setting an oven to 50°C can cause heating elements to spike above 70°C during heating cycles, quickly melting your plastic spool into a ruined lump. Furthermore, heating technical plastics in ovens used for food preparation poses potential chemical contamination risks.
Does brand-new filament straight out of the vacuum bag need to be dried?
Yes, frequently. During industrial manufacturing, extruded hot filament strands are pulled through long water cooling baths before being wound onto spools. If the manufacturing drying blowers are not perfectly calibrated, residual moisture becomes trapped inside the sealed bag alongside the spool. High-precision materials like PETG, TPU, and Nylon should always undergo a drying cycle prior to critical prints.
How do I know when my filament is completely dry?
The most accurate method is by weight. Weigh your wet spool on a digital precision kitchen scale (0.1g resolution) before drying. Weigh it again every 2 hours during the drying process. When the spool weight stops dropping over two consecutive readings, all free moisture has evaporated and the filament is fully dry.
Keep Your Workshop Printing with High Success Rates
Eliminating filament popping is one of the most effective ways to boost print quality, prevent nozzle jams, and ensure high success rates across all your 3D printing projects. By understanding the thermodynamic causes of steam explosions and keeping an active drying routine in place, you can ensure smooth, reliable extrusions on every print.
For more technical guides, high-speed CoreXY 3D printers, and active drying equipment engineered for maker community leads, explore the latest hardware updates at Sovol UK.
Share:
Why the Sovol M1D Is Different: DualX™ Multi-Material 3D Printing
Wet Filament Symptoms: How to Tell If Your Filament Needs Drying