
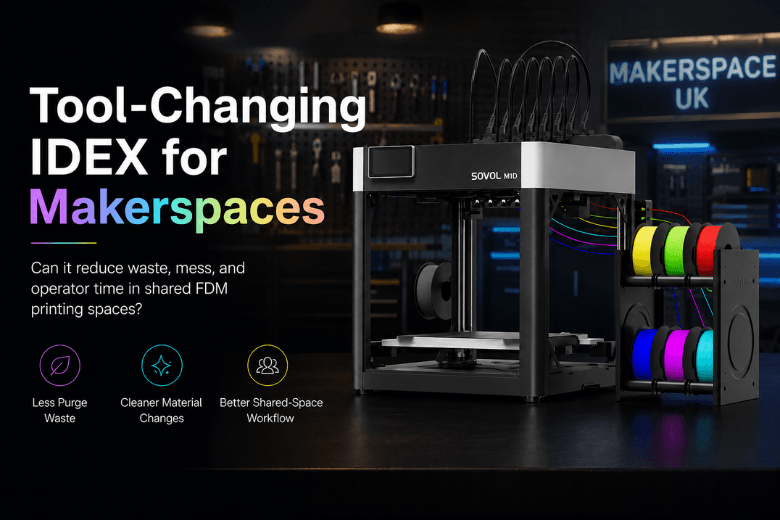
Multi Mode (sometimes described as Multi Printing Mode) on the Sovol M1D is the printer’s workflow for using its dual-extrusion, tool-changing setup to run a single job with more than one filament/tool—most commonly for multi-colour, multi-material, or support-filament printing.
Sovol also positions the M1D as a machine where you can switch between Multi, Mirror, Single, and Copy modes depending on what you’re trying to do in a given print job (see Sovol’s M1D landing page).
|
Mode on the M1D |
What it’s for (plain English) |
When it’s worth using |
|---|---|---|
|
Single |
Normal one-tool printing |
Most everyday prints; simplest setup and lowest risk |
|
Multi |
One print that uses more than one filament/tool (colour, material, or support) |
Parts that genuinely benefit from two filaments (e.g., model + supports) |
|
Copy |
Two identical parts at once |
Small-batch workshop parts when the model fits the split build area |
|
Mirror |
Left + right mirrored parts at once |
Paired parts (handles, brackets, mirrored enclosures) |
Key Takeaway: Think of Copy and Mirror as throughput modes, and Multi as the multi-material / multi-colour workflow.
What is Multi Mode on the Sovol M1D in practice?
The “right” way to explain Multi Mode to a makerspace isn’t just “it prints in two colours.” It’s: Multi Mode is the set of steps (in slicing + setup + calibration) that let you reliably run a job where different parts of the print are assigned to different tools/filaments.
That matters because Multi Mode changes what can go wrong:
-
you’re no longer validating one extrusion path
-
you’re validating two tools, plus the switching between them
If your priority is uptime and repeatability, you’ll want a standardised Multi workflow: approved filament pairings, known-good profiles, and a short “can you run Multi?” gate before members launch long jobs.
The official meaning (and why the wording matters)
On Sovol’s M1D page, Multi Printing Mode is described as a way to create multi-colour and multi-material prints and to combine colours, materials, or support filaments in one workflow, powered by the printer’s DualX IDEX tool-changing system.
That wording matters because “multi mode” can mean different things on different printers:
-
On some machines it’s basically a menu of dual-extruder options.
-
On others it’s specifically the two-material / two-colour workflow.
For the M1D, Sovol’s phrasing makes it clear: Multi = multi-colour / multi-material / support-filament printing, while Copy and Mirror are separate modes.
Multi vs Copy vs Mirror vs Single: what changes in your workflow
Here’s what actually changes as soon as you stop printing in Single mode.
Single mode (baseline)
If you’re teaching new members, Single mode is still the baseline: one slicer profile, one filament, fewer variables.
Use it when:
-
you’re validating a new filament
-
you’re troubleshooting first-layer adhesion
-
you need maximum reliability per hour of staff time
A related read for workshop leads: what makes a good 3D printer for home, school, or workshop use.
Copy mode (two identical parts at once)
Sovol describes Copy Mode as printing two identical parts at the same time with independent dual extruders—useful for small-batch output without adding another machine.
Copy mode is worth it when:
-
the model footprint fits inside the “two-up” usable space (your bed is effectively split)
-
you have your tool offsets dialled in (otherwise you’ll get two bad parts instead of one)
-
the job is something you run repeatedly (spare parts, workshop jigs, brackets)
Where it disappoints:
-
large prints that already use most of the bed
-
one-off prints where the setup time outweighs the throughput gain
Mirror mode (left + right parts in one job)
Sovol frames Mirror Mode as printing mirrored left-and-right parts simultaneously—useful for paired parts and symmetrical prototypes.
Mirror mode is practical when:
-
you regularly need matched pairs (left/right covers, mirrored mounts)
-
you care about consistency across the pair (same filament batch, same environment, same print conditions)
Multi mode (multi-colour, multi-material, and support filament)
This is the one most people actually mean when they ask about “Multi Mode.”
A practical way to think about Multi mode is: you’re making “material choices” at the part level. For example:
-
Model + support: print the model in one filament and use a different filament for supports.
-
Rigid + flexible: print a stiff body in one material and add flexible features in another.
-
Colour separation: assign colour A to one region and colour B to another.
What changes operationally:
-
Slicing becomes more intentional. You’ll need to assign features/parts to each tool in your slicer.
-
Calibration becomes visible. Tool offsets and ooze control show up as defects at colour/material boundaries.
-
Waste control becomes a workflow. Multi-material printing often needs priming/purging behaviour—plan for it in the job.
For broader context on how IDEX and tool-changing architectures trade off contamination risk, calibration, and waste (general background rather than an M1D spec sheet), Sovol’s explainer is a solid starting point: IDEX vs tool changer 3D printer: which is better?.
Pro Tip: For makerspaces, “Multi mode success” is less about the printer and more about standardising: one approved filament pair, one verified profile, and one test print that members must pass before they run long multi-material jobs.
Common limitations (so you can set expectations for your community)
Multi Mode unlocks capability, but it also adds variables. The most common failure modes in community environments are:
-
Offset/calibration drift: the second tool looks “slightly off” and suddenly your colour boundary is ragged or supports weld to the part.
-
Material pairing mistakes: not all plastics bond well, and not all “support” filaments behave the way users expect.
-
More ways to fail on the first layer: you’re relying on both tools behaving predictably, not just one.
-
More cleaning and maintenance overhead: two tool paths typically means more chances for stringing, oozing, and nozzle contamination.
None of this is a reason to avoid Multi mode—it just means you’ll want a training path and a default safe setup.
A simple decision rule for makerspaces
If you’re deciding which mode to use for the next job, this rule gets you 80% of the way there:
-
Choose Single when reliability and teaching simplicity matter most.
-
Choose Copy when you need two of the same and the model fits the two-up footprint.
-
Choose Mirror when you need left + right versions and want them consistent.
-
Choose Multi when the part’s function or aesthetics genuinely benefits from two materials/colours/support.
FAQ
Is Multi Mode the same as Copy Mode?
No. On the M1D, Copy Mode is framed as printing two identical parts at once, while Multi Printing Mode is framed as multi-colour/multi-material printing (including support filaments).
Do I have to change anything in the slicer to use Multi Mode?
Usually, yes. Multi-material or multi-colour printing requires you to assign which tool prints which part/region and to use a workflow that supports tool changes.
Is Multi Mode worth using in a shared makerspace?
It can be—especially for model+support workflows or prints where colour/material separation clearly improves the result. The key is setting a “default safe” standard: approved materials, known-good profiles, and a short member checklist.
Does Multi Mode automatically mean faster printing?
Not automatically. Copy mode can improve throughput because you get two parts per job. Multi mode can add time because tool changes and priming/purging introduce overhead.
Next steps
If you’re evaluating printers for a UK makerspace, it’s worth sanity-checking the “support surface area” before you commit: warranty terms, spare parts availability, and whether manuals/firmware/downloads are easy to find. This guide can help you frame that evaluation: Buying a 3D printer in the UK: delivery, warranty, and support.
Share:
Tool-changing 3D printers for makerspaces: an IDEX buyer’s guide
Tool-changing 3D printers for makerspaces: an IDEX buyer’s guide