Large prints don’t fail because you “picked the wrong settings.” They fail because you’re fighting a simple physics problem at a bigger scale: as plastic cools, it shrinks. If different parts of the print cool at different rates, the part builds internal stress until the corners lift or the base bows.
This guide is written for UK makerspaces and community leads who need repeatable outcomes across different users, filaments, and seasons—not one-off hero prints.
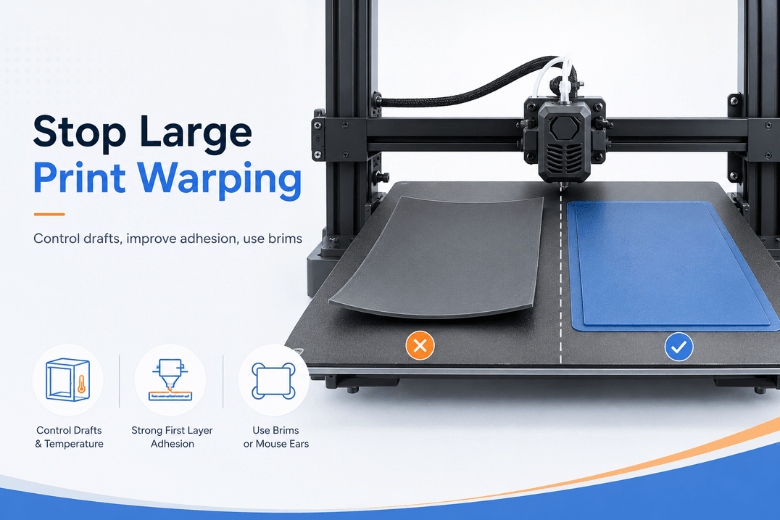
Key takeaways
-
Warping is usually a temperature-gradient problem first and a bed-adhesion problem second. You need both.
-
For large prints, start by standardising environment control (drafts, enclosure, cool-down) and first-layer discipline before you chase slicer micro-tweaks.
-
Use geometry tools unapologetically: brims and mouse ears/discs often beat “more heat” as a first fix.
-
Treat PLA, PETG, and ABS/ASA as different jobs. A setup that stops ABS warping can make PLA worse.
What actually causes warping (and why large prints are harder)
Warping happens when a print cools unevenly and shrinks, creating stress that pulls the part upward—usually at the edges and corners first. The larger the footprint, the more leverage those edges have, and the more time the print has to accumulate stress.
A useful mental model from adhesives-maker Magigoo is that warping is a tug-of-war: adhesion must stay stronger than thermal stress for the entire print, not just the first 10 minutes. Their Magigoo Manual v1.21 also notes that for some materials, adhesion alone may not be enough without reducing the thermal gradient (e.g., via a controlled chamber).
How to stop large 3D prints from warping: the makerspace workflow
If you implement only one thing from this article, make it this: stop treating warping as a single knob. It’s a system. Run the system the same way every time.
1) Stabilise the environment (drafts first, enclosure second)
Why it matters: Large parts hate uneven airflow. An open door, a cold window, or an extractor fan that hits one side of the bed can cool one edge faster than the rest.
Do this:
-
Move the printer away from direct drafts (doors, windows, HVAC).
-
If you have a 3D printer enclosure, use it as a draft shield even when you aren’t actively heating it.
-
For ABS/ASA especially, pre-warm the enclosure and keep doors closed during the print.
What failure looks like: One corner consistently lifts on the “draft side” of the printer, even when the first layer looked fine.
Pro Tip: If your makerspace has seasonal temperature swings, treat “winter mode” as a different preset: same filament, but stronger draft protection and slightly gentler cooling.
2) Lock down bed adhesion fundamentals (cleanliness, surface, temperature)
Why it matters: Bed adhesion is your foundation. If it’s inconsistent, every other tweak becomes guesswork.
Do this:
-
Standardise bed cleaning. (In a makerspace, contamination is the default.)
-
Match surface to material (e.g., textured PEI vs smooth plates) and don’t swap plates mid-diagnosis.
-
Keep the bed temperature stable through the first layers.
Wevolver’s overview of warping fixes emphasises heated-bed use and adhesion improvements as the baseline for prevention: see Wevolver’s 3D Print Warping guide (2025).
What failure looks like: The print releases cleanly with almost no effort when it’s still warm, or you see the first layer “skating” during corners.
3) Make the first layer boring (slow, consistent, and slightly over-committed)
Why it matters: For large prints, you’re not optimising the first layer for speed—you’re buying insurance against hours of accumulated stress.
Do this:
-
Slow the first layer down.
-
Use enough “squish” (Z-offset) that the line is properly bonded, not just sitting on the surface.
-
Keep first-layer extrusion consistent (avoid partial clogs and wet filament).
If you’re troubleshooting, treat first layer adhesion as a measurable checkpoint: you want a continuous, well-bonded line you can’t peel up without real effort.
This is where most makerspaces win or lose repeatability. If you want one reference to standardise training, Sovol’s calibration guide includes the core checks: first-layer setup and calibration workflow.
What failure looks like: The first layer looks acceptable, but you can lift corners with a fingernail before layer 10.
4) Use cooling intentionally (avoid “blast the fan” defaults)
Why it matters: Cooling can solve droopy overhangs—and create warping at the same time. Large prints need cooling that’s even, predictable, and delayed until adhesion is established.
Bambu Lab explicitly recommends setting no cooling for the first few layers (often ~3 layers for common filaments) to improve first-layer bonding: see Bambu Lab’s Cooling Settings guidance.
Do this:
-
Turn off (or heavily reduce) part cooling for the first layers.
-
Avoid strong auxiliary fans pointing at one side of the print.
-
If you must use high cooling (e.g., PLA bridges), add geometry adhesion (brim/discs) rather than “more bed temp” as your first response.
What failure looks like: Corners lift after 30–60 minutes even though the first layer looked great—especially on big rectangles.
5) Use geometry and slicer tools (brims, mouse ears, and discs)
Why it matters: Corners concentrate stress. The cleanest fix is often to change what the corner is allowed to do.
Do this (pick the least invasive option that works):
-
Brim: increases contact area, great for big flat bases.
-
Mouse ears: small circles at corners—cheap insurance for rectangular parts.
-
Discs (edge reinforcement): a more systematic version of mouse ears.
Wevolver recommends brims and mouse ears for warp-prone rectangular bases (see their 2025 warping overview). For “disc” style reinforcement, Bambu Lab documents the approach in Bambu Lab’s ‘use discs to avoid warping’ method.
What failure looks like: A single corner lifts first, then the warp “walks” along the edge.
6) Don’t overfill the part if you don’t need to
Why it matters: Warping is driven by shrinkage forces. The more plastic you pack into a large footprint, the more force you’re asking bed adhesion to resist.
Do this:
-
Use the lowest infill that still meets strength needs.
-
Avoid huge solid sections when the part could be ribbed or hollow.
What failure looks like: Prints with higher infill warp more, even though everything else is unchanged.
Material quick-start (large prints)
These are starting points—not promises. Every printer, plate, and room behaves a little differently.
PLA (usually “adhesion + drafts”)
-
Prioritise bed cleanliness and first-layer consistency.
-
Use cooling for quality, but delay it for the first layers.
-
Avoid a hot, fully sealed enclosure unless you know why you need it.
PETG (usually “reduce early cooling + keep it steady”)
-
PETG often benefits from lower fan for the early layers and a stable bed.
-
If corners lift, reach for brims/mouse ears first.
ABS/ASA (usually “enclosure + low cooling”)
-
Plan for draft-free printing. Many large ABS/ASA parts need an enclosure to reduce thermal gradients.
-
Keep cooling low, and don’t open the enclosure mid-print unless you’re intentionally managing heat.
⚠️ Warning: ABS/ASA can produce unpleasant fumes. If you’re running these materials in a shared space, treat ventilation and exposure as first-class requirements.
“Corners lifting 3D print”: a quick diagnosis map
If you want a fast workflow mentors can use during a session, use this mapping.
-
Only one corner lifts (same side every time) → suspect drafts / uneven airflow; add a draft shield and check auxiliary fan direction.
-
All corners lift evenly → suspect bed adhesion and first-layer setup; add brim + re-check Z-offset and bed cleanliness.
-
Warp starts late (hours in) → suspect accumulated thermal stress; reduce aggressive cooling, add discs/mouse ears, and consider enclosure stability.
-
Warp appears after removal → let the part cool more gradually; don’t pry it off while it’s still under stress.
If you want an “official” internal reference for mentors, Sovol has a focused corner-lift workflow you can point users to: How to stop corners from lifting on 3D prints.
When to redesign instead of fighting physics
If you’ve standardised the workflow above and warping still wins, it’s often a design problem:
-
Huge flat rectangles with sharp corners are warping magnets.
-
Adding corner radii, ribs, or breaking a part into smaller subassemblies can reduce stress dramatically.
As a makerspace rule: if you need extreme adhesives, extreme bed temps, and extreme brims every time, it’s cheaper to redesign once than to keep paying for failed prints.
Next steps (practical, low-friction)
-
If your first layer is inconsistent across users, standardise your training around one checklist and link it in your internal docs. Start with: Fix 3D printer bed adhesion.
-
If you’re evaluating printers for large-format work, make “stable environment control” a requirement, not a nice-to-have. This broader guide can help frame the trade-offs: Large build volume 3D printers for UK home selection.
-
If you want to keep things open-source-friendly and UK-supported, you can explore Sovol’s current lineup on Sovol UK and match printer capability to your most common large-print jobs.
Share:
Why Do 3D Prints Warp and How Can You Stop It?
Best Ways to Keep Large 3D Prints Flat and Stable (PLA, Open-Frame Printers)